Getting started
The happy path from a fresh panel to a live website — sign in, add a server, create an instance, and launch a site.
This is the quickest route from a fresh SpipCP install to a running website. Each step links to its full page for more detail. Followed top to bottom, this is the whole journey.
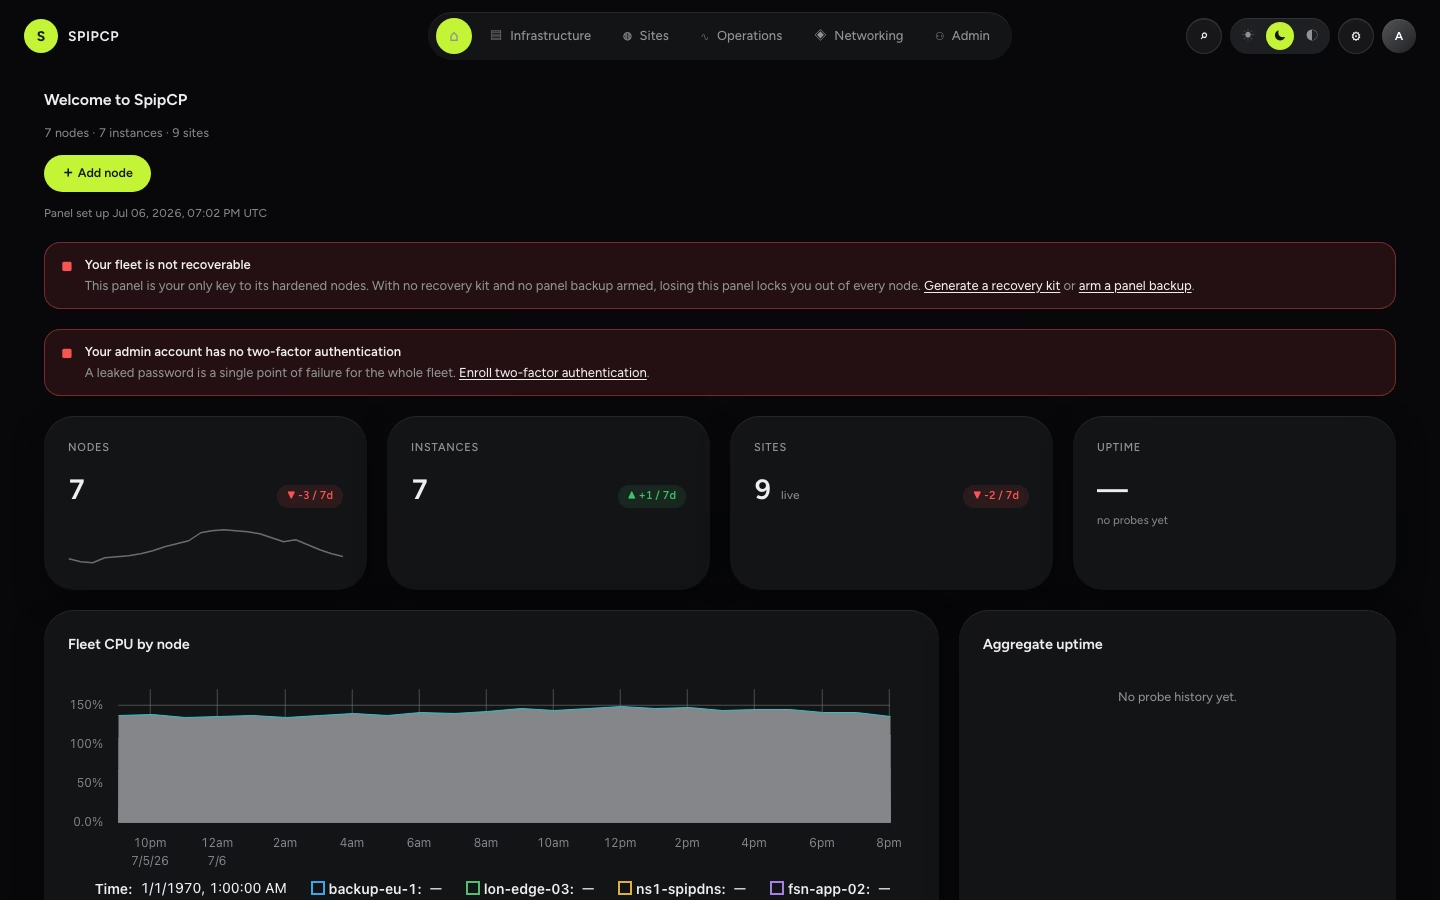
Sign in
Open the panel and sign up. The first account becomes the admin automatically, and it's pre-verified, so access is available even before email is set up. After that, new people join by invite only.
Add a server (node)
Nodes → Add node. Give it SSH access once. SpipCP checks the server, installs its agent, hardens it, and brings it to a green online state in real time. From then on it's never SSHed by hand again.
→ Nodes
Create an instance
Instances → New instance. Pick the node and create an isolated environment — a VM by default — for the site to live in. SpipCP checks it's ready so the site starts from a known-good base.
Launch a site
Sites → New site. Choose a type (WordPress, PHP, static, Node, or Python). SpipCP installs the stack, creates a database if needed, and brings the site up. If anything goes wrong, it reports what and how to fix it — never a false green.
→ Sites
Add a domain and HTTPS
On the site's Domains tab, attach a hostname. SpipCP routes it, issues the TLS certificate, and checks the site actually serves before going green.
What's next
A live site now exists. From here:
- Deploy from git — connect a repo and ship with one click. → Git deploys
- Back it up — scheduled, encrypted, restore-tested. → Backups
- Pick a language — the panel, these docs and the changelog speak seven languages; the flag menu beside the theme switcher changes it. → Language & region
- Watch it — uptime and certificate alerts. → Monitoring
- Hand it over — email the owner their credentials. → Site database & handoff
Running it locally?
Contributors can run the whole stack locally, with a VM standing in for a real server. See Development setup for the dev environment, ports, and commands.