Sites
Launch and run a real website — domains, TLS, a database, files, and git deploys — all from the site workspace.
A site is a website running inside an instance: a WordPress blog, a PHP, Node, Python, Go, or Rust app, or static files. It is launched once, then everything about it — domains, environment, files, deploys, and backups — is managed from the site workspace, a set of tabs across the top of the page.
The tabs are: Overview · Networking · Environment · Cron · Monitoring · Files · Deploys · Backups · Settings. Some group related areas behind an inner toggle — Networking holds Domains, SSL, and Routes; Monitoring holds Logs and Health — and Access keys live inside Settings. The owner Terminal is a button in the top-right of the header, not a tab, so it stays open while moving between tabs.
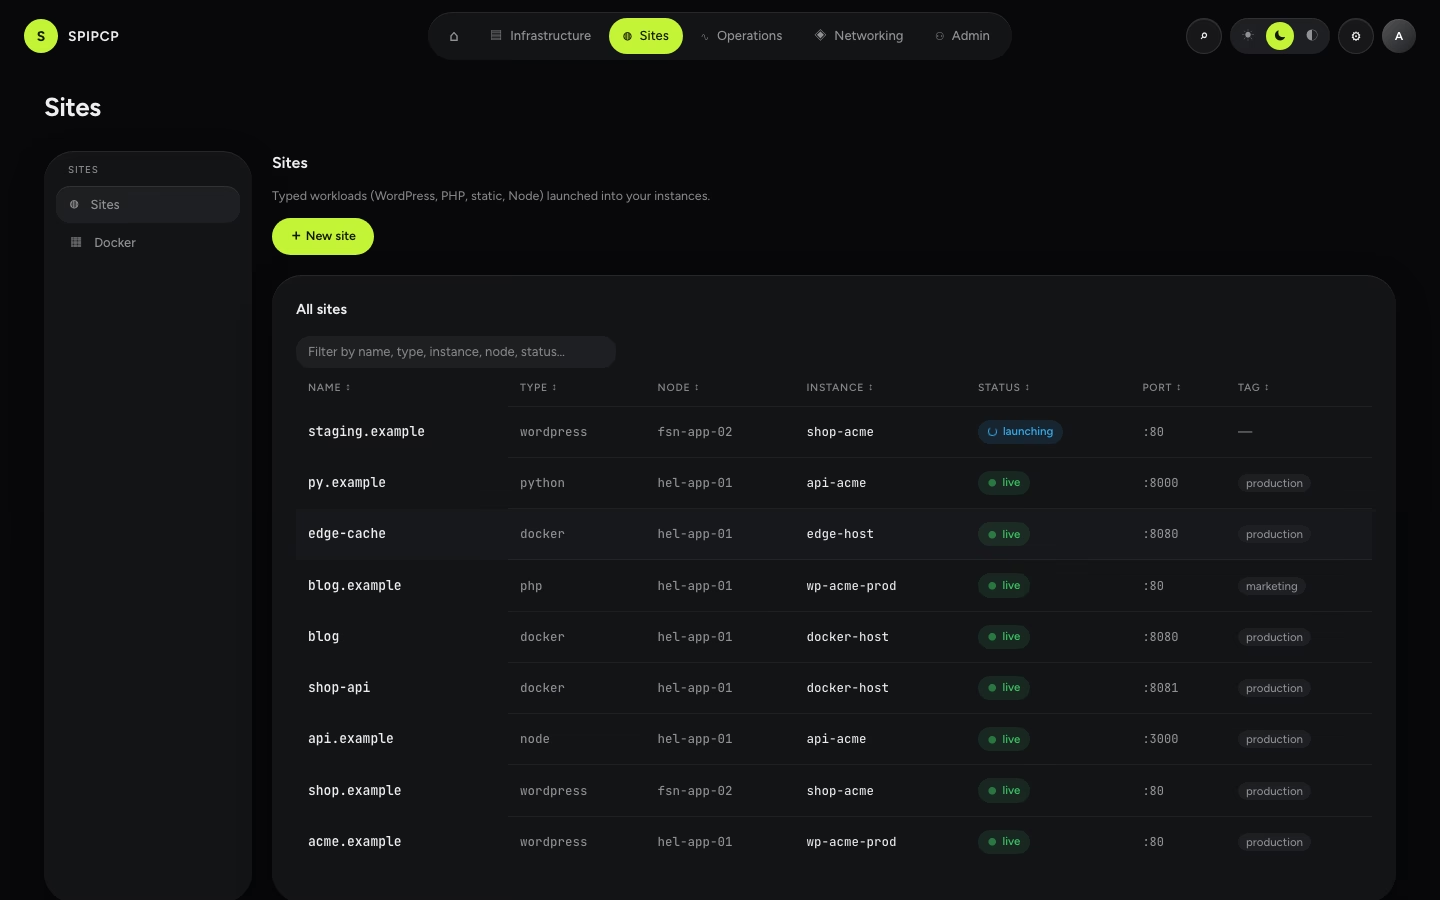
Launching a site
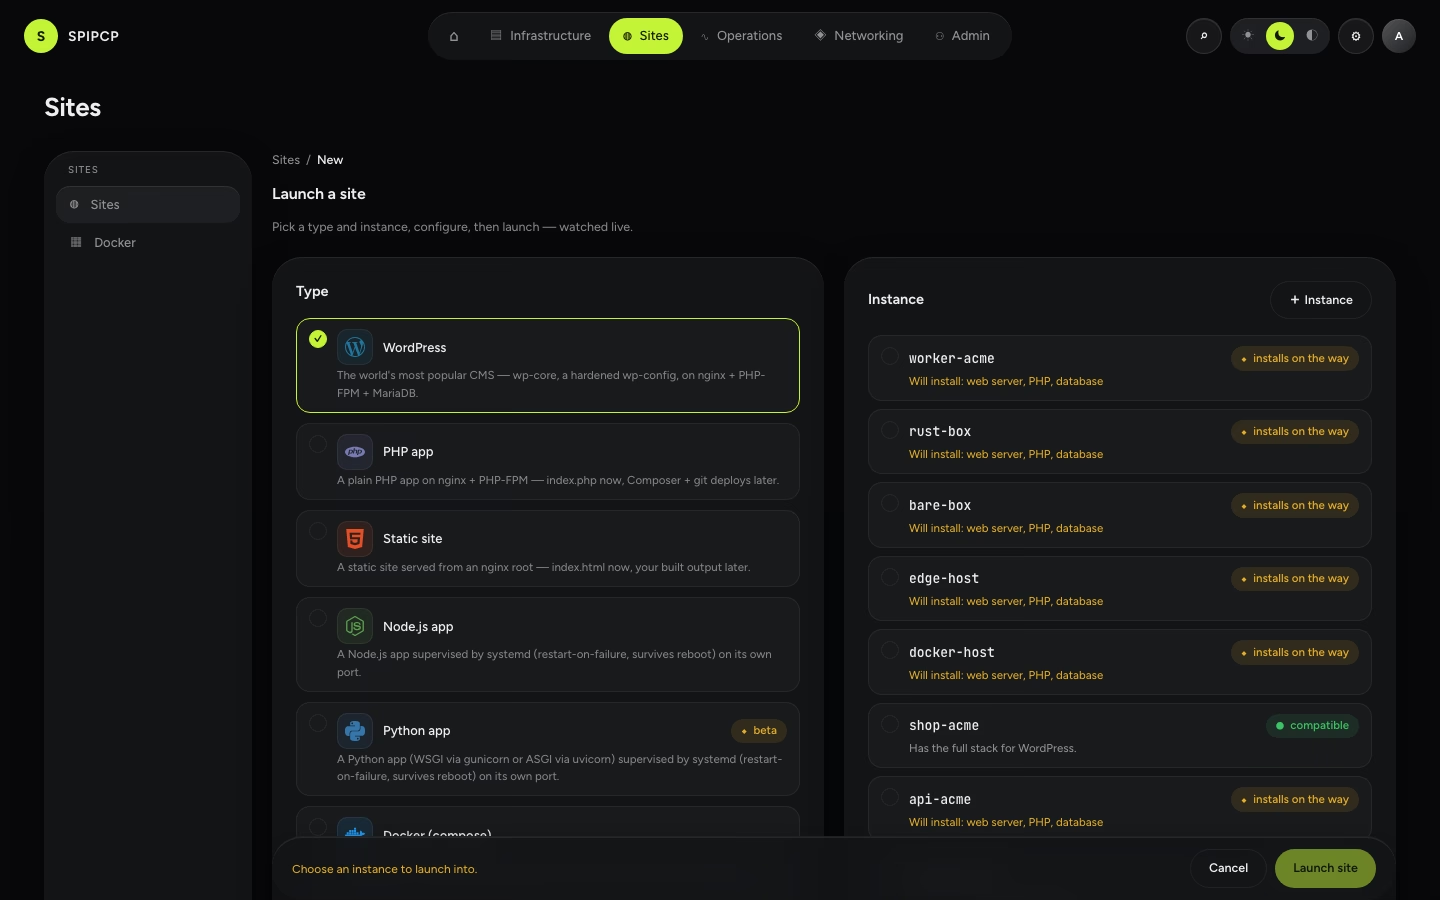
From Sites → New site, a short wizard walks through it:
Pick where it runs. Choose the instance to host the site. (Starting from an instance's Sites tab, it's already chosen.)
Choose a type. WordPress, PHP, static, Node, Python, Go, Rust, or Docker. Each installs the right stack. Anything missing on the instance is installed on the way — unless the instance was created for a particular workload, in which case its stack is already there and the site inherits it.
Read what the form says back. Anything that would refuse the launch is stated before it is attempted — a site type the instance was not created for, a taken port, a co-tenant on the pre-3.3 layout — with the way out. Things worth knowing but not blocking are stated too: the web server the site inherits from the instance, the PHP and database versions already installed on it, and whether the instance is sized for the number of sites it will then hold.
Configure it. Name the site, set the environment values it asks for, and optionally turn on a database and site isolation (a dedicated owner — see Settings).
Launch. The launch runs live in a terminal. On success the site is live and the workspace opens. On failure it's marked failed with a fix to apply — never a green light over a broken site — and it can be resumed from where it stopped.
The rest of this page tours the workspace tabs in order. The workspace remembers the last tab open — switch to Environment, reload or come back later, and it opens there instead of snapping back to Overview (the same goes for the node and instance workspaces).
Overview
The home of the site: the chain node → instance → site, the live status, what to do next, and the credential handoff panel — one place to copy or email the site's endpoint, owner login, and database credentials to whoever runs it.
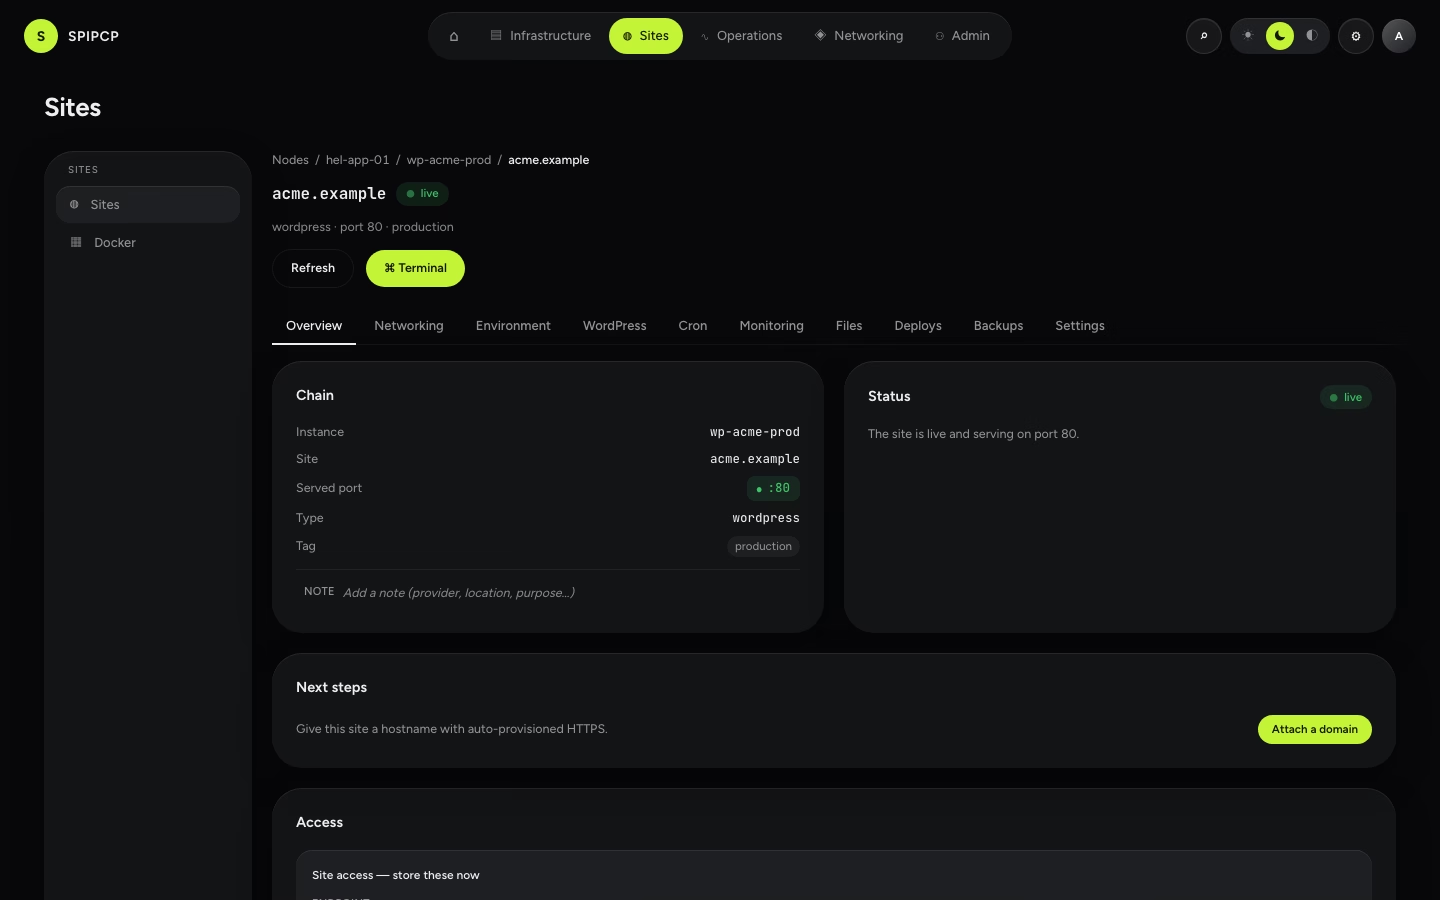
Where a site lives
The Chain card also states, for every site type, the two facts needed to work the box: where the files are inside the instance, and which services run the app. They're not guesses to be made — they're set by the site's type, shown in the panel, and used by the file manager, backups, restarts, and teardown alike.
| Type | Site directory | Services |
|---|---|---|
| Static | /srv/web/<site> | nginx (its own server block + port) |
| PHP · WordPress | /srv/web/<site> | nginx + its own PHP-FPM pool |
| Node · Python · Go · Rust | /srv/app/<site> | its own spipcp-<type>-<site>.service |
| Docker | /srv/docker/<site> | none on the host (the app runs as containers) |
Every directory and service is per site, so an instance hosts many sites side by side — including several PHP or Node sites on one box, each with its own directory, its own port and its own unit.
What is inside a site directory
The site directory is not the served folder. It holds three things, and it holds them from the moment the site launches — not only after a first deploy:
/srv/web/<site>/
├── releases/<timestamp>/   one immutable release — the tree that actually serves
├── shared/                 state that outlives a release: uploads, caches, the env file
└── current -> releases/…   the symlink the web server roots at and the unit executes from
The served path is current, and a deploy moves it in one atomic swap. That split is what makes
deploys and rollback instant and reversible: releases sit
side by side on disk, and switching between them is a single link change.
Two consequences worth knowing:
- Application code lives in the release, so the file manager opens at the site
directory and the site's own files are one level down, under
current. Editing throughcurrentedits the release that is live right now. - Anything that must survive a deploy belongs in
shared/. Files written directly into a release are removed when that release is eventually pruned.
What shared/ holds, per type
Each site type declares what outlives a release, because the answer genuinely differs — a static site keeps nothing, and WordPress keeps the two things it cannot be rebuilt without:
| Type | Kept in shared/ |
|---|---|
| WordPress | wp-content/uploads (the media library) and wp-config.php (DB credentials + salts) |
| PHP | uploads |
| Node · Python · Go · Rust | data — the conventional directory for app-managed state such as SQLite files. Environment variables are not here: they live in the service unit, outside the release entirely |
| Static | nothing — a static site is its repository, so every served byte comes from the deployed tree |
| Docker | nothing — a Docker app's data is bind-mounted beside the release machinery, in the app directory itself |
These paths are symlinked into every new release, so a deploy replaces the code around them and
leaves them untouched. WordPress's wp-config.php is carried across automatically the first time a
site deploys, so a site created before this existed keeps its configuration.
Sites created before release 1.8.2 must be recreated
Earlier releases made the site directory itself the served symlink, which left no place for
releases/ and shared/ to live. There is no in-place conversion: a launch that meets one of
those older sites refuses and says so, rather than laying the new structure over content it
cannot safely move. Recreate the site, then deploy or upload into it.
Two things follow, and both are worth internalizing:
The panel owns these paths
The launch writes these directories, and a relaunch rewrites the files it manages inside
them (a Docker app's docker-compose.yml, an app's systemd unit). So a hand edit to a
panel-managed file — made over SSH or in the site terminal — is overwritten on the next
relaunch. Edit through the panel instead: the Environment editor, the
Compose editor, the
Files manager. Application code, on the other hand, is the site's own — put it there with
a deploy, or edit it in the file manager.
Install into the site's directory — never a hand-made one
An app installed somewhere else (say, a hand-made /opt/<app>) is invisible to SpipCP: backups
will not capture it, teardown will not remove it, and — for Docker — the management plane will not
attribute its containers to any site. The site's directory already exists by the time the site is
live; it is the place to work.
Because every path is derived from the site's slug, no type is limited to one site per instance — several PHP, Node or Docker sites share a box without colliding, each on its own port with its own directory, unit and compose project.
Networking
How requests reach the site, with an inner toggle between Domains and Routes.
Domains is where most work happens: attach domains and manage their TLS certificates. SpipCP requests and renews Let's Encrypt certificates automatically, and each domain shows its certificate status and expiry.
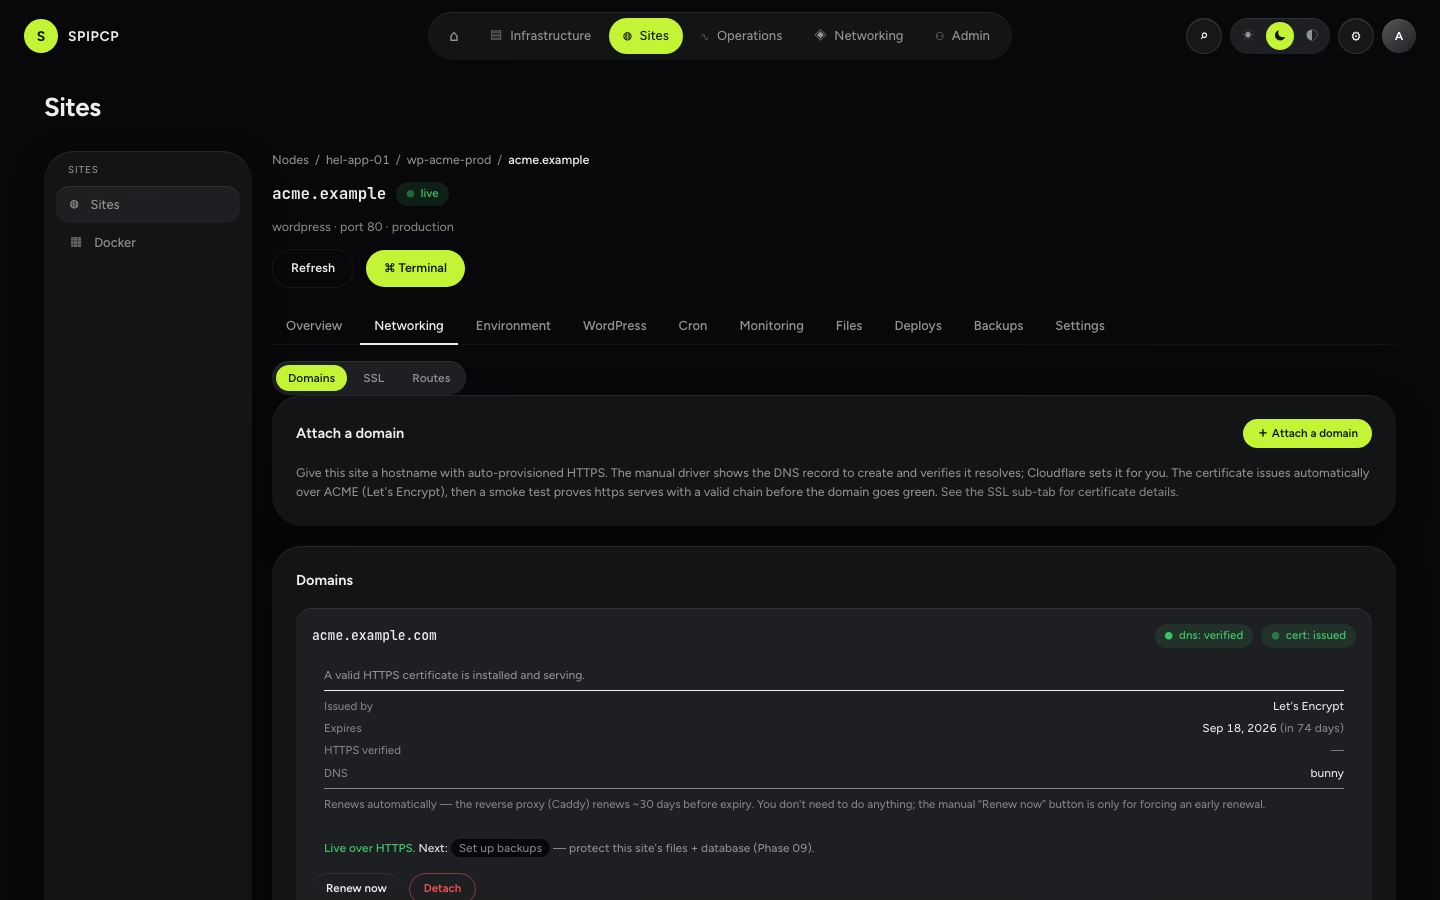
| Control | What it does |
|---|---|
| Attach domain | Point a hostname at this site (creates the route + requests a certificate). |
| Wildcard subdomain | Optionally catch *.domain so every subdomain resolves to the site. |
| Certificate status | Issued / renewing / expiry, per domain. |
Routes is the lower-level view — the reverse-proxy routes behind the domains. Most of the time domains are what get managed, never this; it's here for seeing or adjusting the exact routing.
Changing a site's domain?
Attach the new domain, confirm it's live with its certificate issued, then remove the old one. Each domain has its own DNS, certificate, and route, so there's no separate "rename domain" — attach-then-detach is the change.
→ More detail: Domains & SSL.
Environment
The site's variables, edited two ways. The default .env view is a real code editor — line
numbers and syntax highlighting — where a whole .env can be pasted straight out of VS Code. The
Table view is an aligned key/value grid. The site's predefined keys keep their labels and
validation, and any extra SCREAMING_SNAKE_CASE key can be added. # comments and blank lines
are saved and come back on reload. Save stages the change, then Apply relaunches to pick
it up. Platform-injected (SPIPCP_) and secret variables sit in a separate, locked card the editor
never touches.
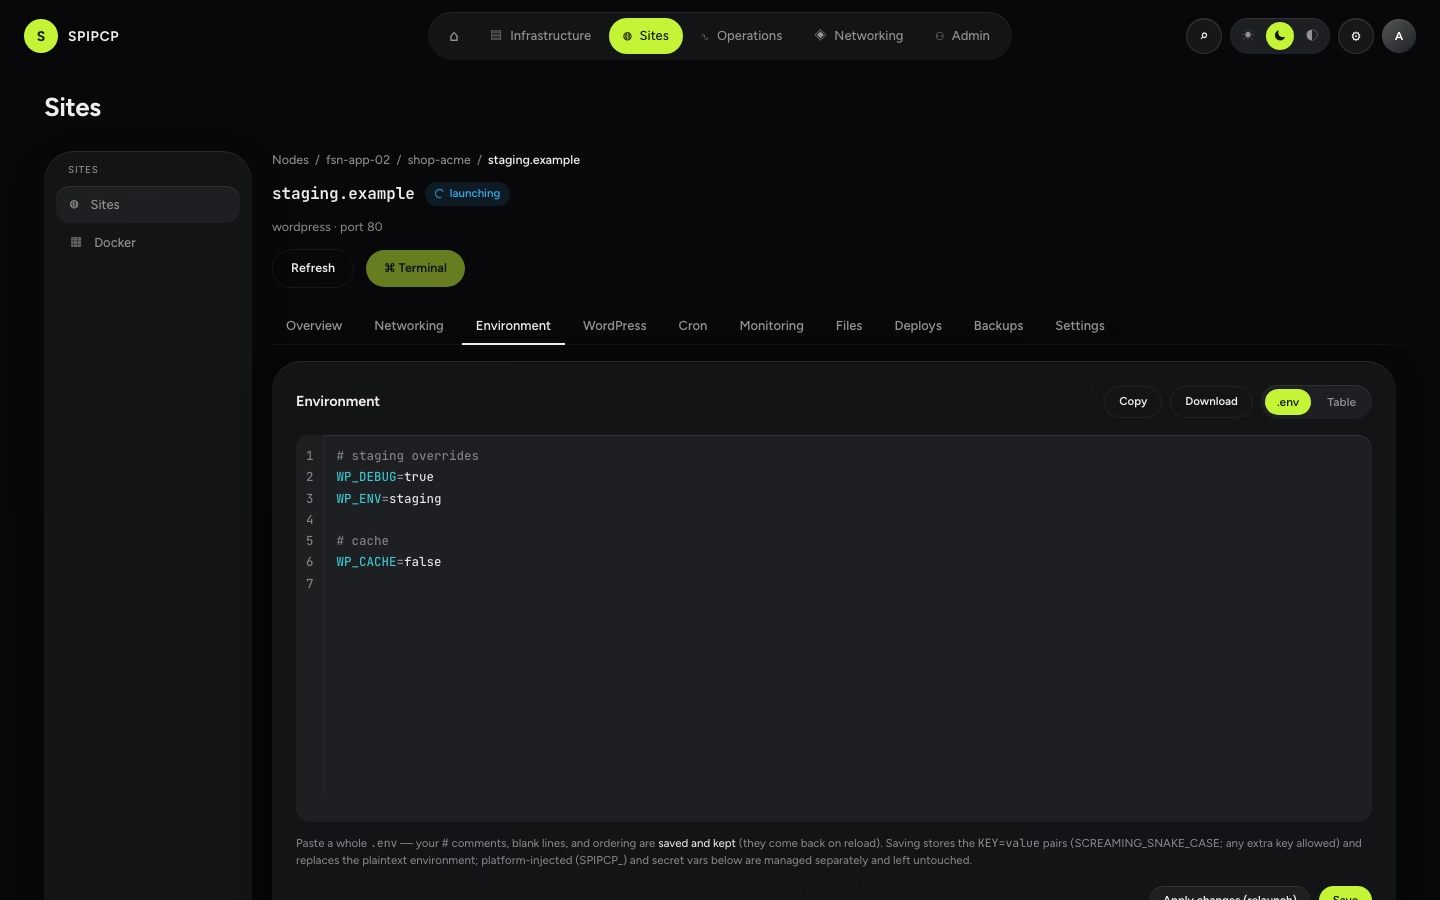
| Control | What it does |
|---|---|
| .env / Table toggle | Switch between the .env code editor and the keyed table (same file). |
| Add variable | Add a key the blueprint didn't declare (still validated on save). |
| Save | Stage the new values + the raw .env text (comments kept) in the panel. |
| Apply changes | Relaunch the site so the new environment takes effect. |
| Copy / Download | Copy the .env to the clipboard, or save it as a file. |
WordPress sites have no .env file
The Environment tab is the one source of truth, but where the variables land depends on the site
type — WordPress renders them into wp-config.php, a Node app reads them as process env, a static
site has none. See Environment editor.
→ More detail: Environment editor.
Cron
Schedule recurring jobs and long-running background processes for the site, installed inside the instance. Add cron or worker opens a dialog to pick the kind, name it, and set the schedule (for a cron) and command.
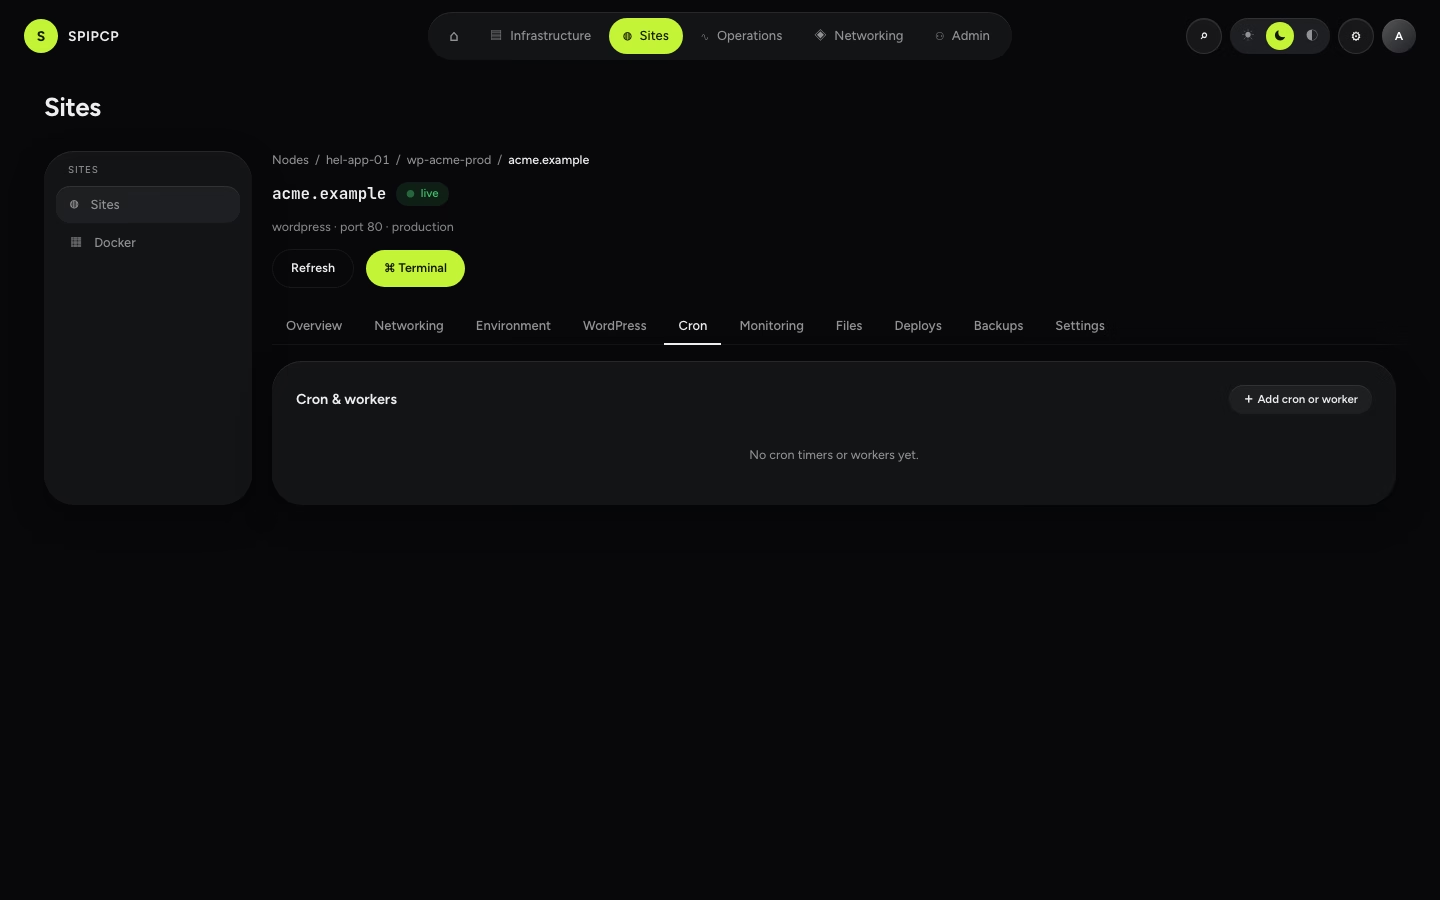
| Kind | What it does |
|---|---|
| cron | A scheduled job (a systemd OnCalendar timer). |
| worker | A continuously-running process that restarts on failure and survives reboot. |
Monitoring
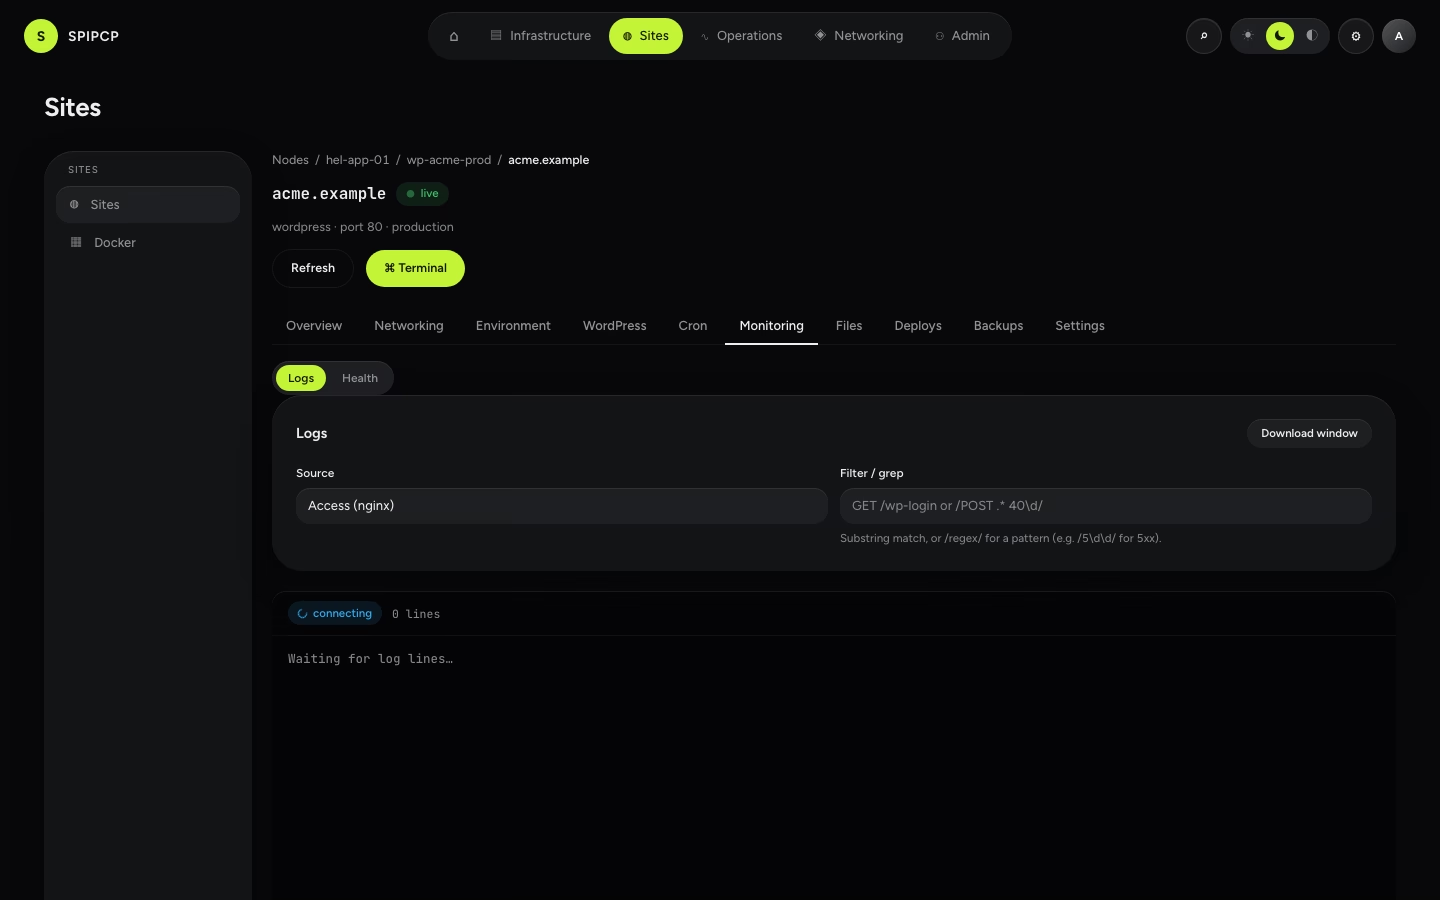
Logs and health, with an inner toggle between the two.
Logs streams live output from the instance — useful when something misbehaves and needs watching in real time. Health shows the site's uptime and certificate checks at a glance (the site-scoped slice of Monitoring), plus — for an HTTP probe — latency percentiles (p50/p95) and a response-status chart showing not just whether the site is up, but how it's performing.
Files
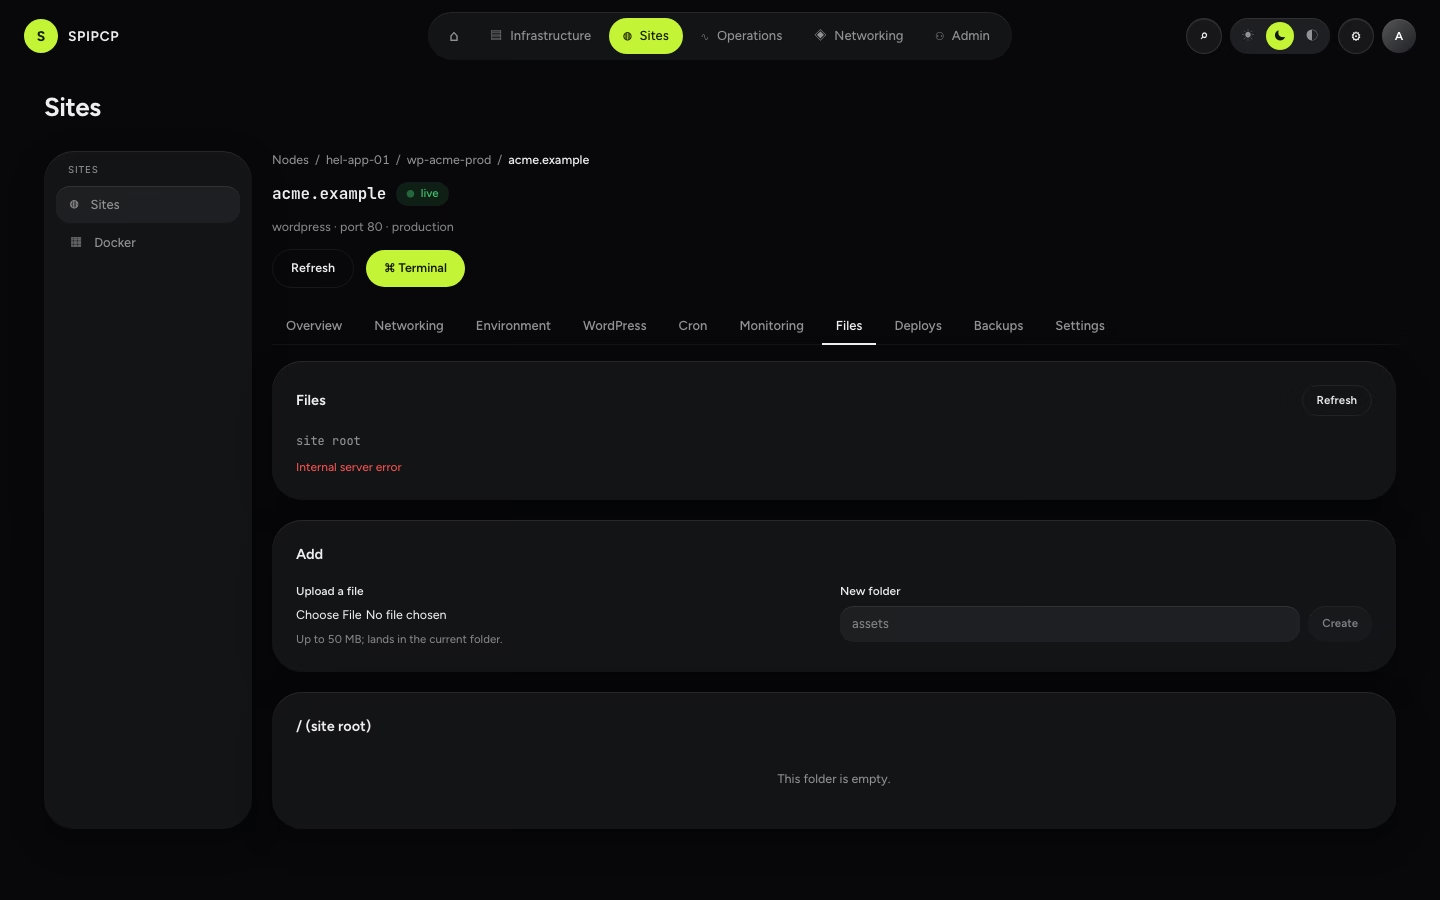
A file browser scoped to the site's directory. Browse, view, and edit the site's files without opening a terminal or an SFTP client.
Deploys
Deploy the site straight from a git repository. Connect a repo (browse it through a git account or paste a clone URL), then deploy, roll back, and review the history.
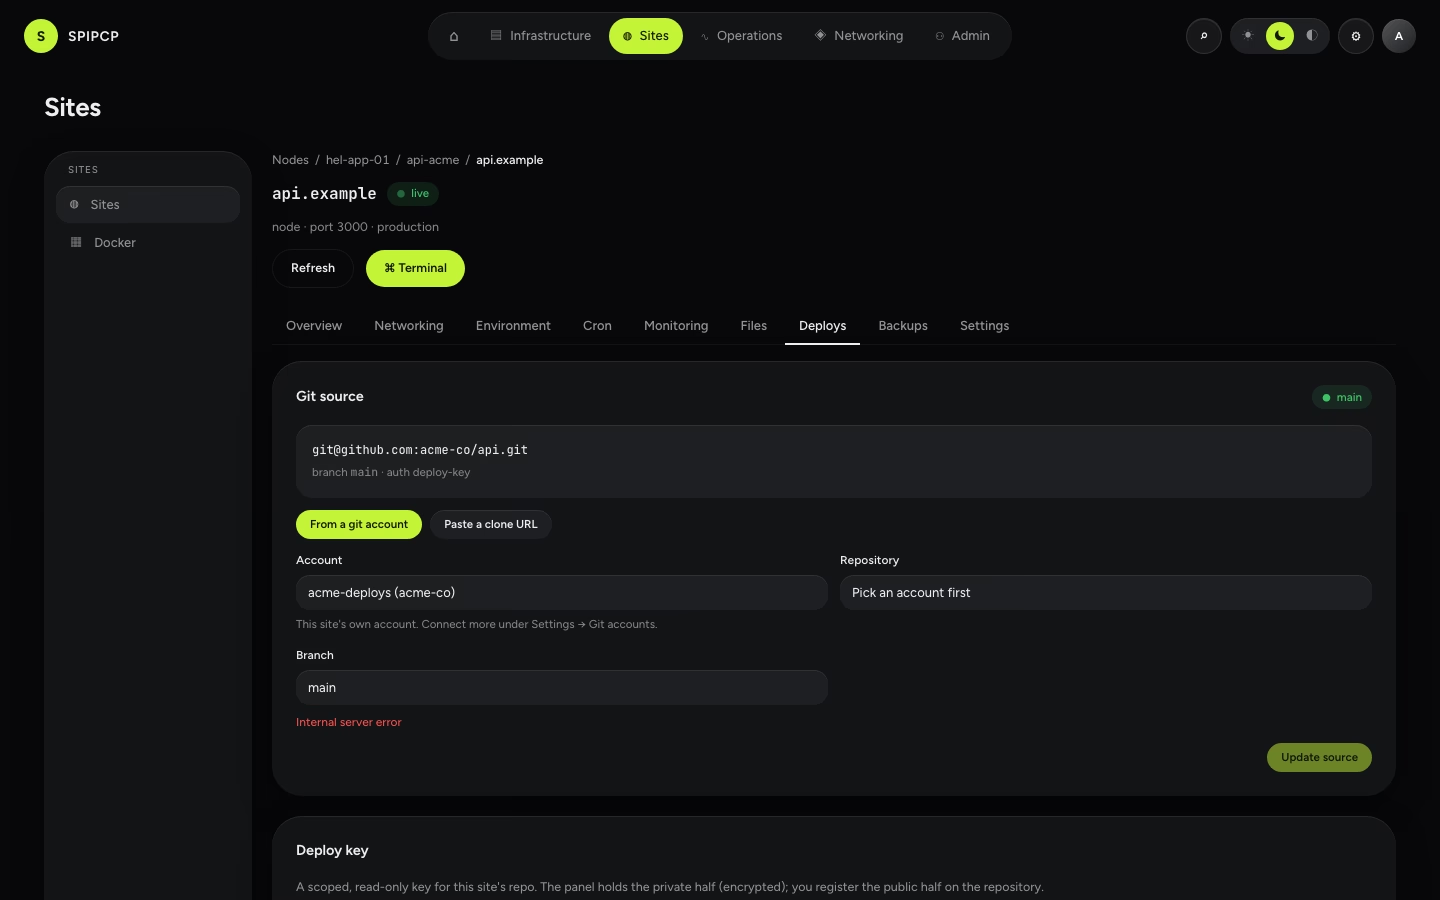
| Control | What it does |
|---|---|
| Source | Connect or re-point the git repo and branch. |
| Deploy key | The per-repo key to register on the repository (read-only). Its name defaults to <site>-deploy so a site's keys stay distinguishable; rename it before generating. |
| Deploy now | Run the fetch → build → release pipeline. |
| Rollback | Flip back to a previous release (health-checked again). |
| Webhook | A push URL + secret so a git push redeploys automatically. |
A deploy timeline chart shows each run's duration and outcome, so a deploy that's started taking longer or a run of failures is visible at a glance.
→ More detail: Git deploys.
Backups
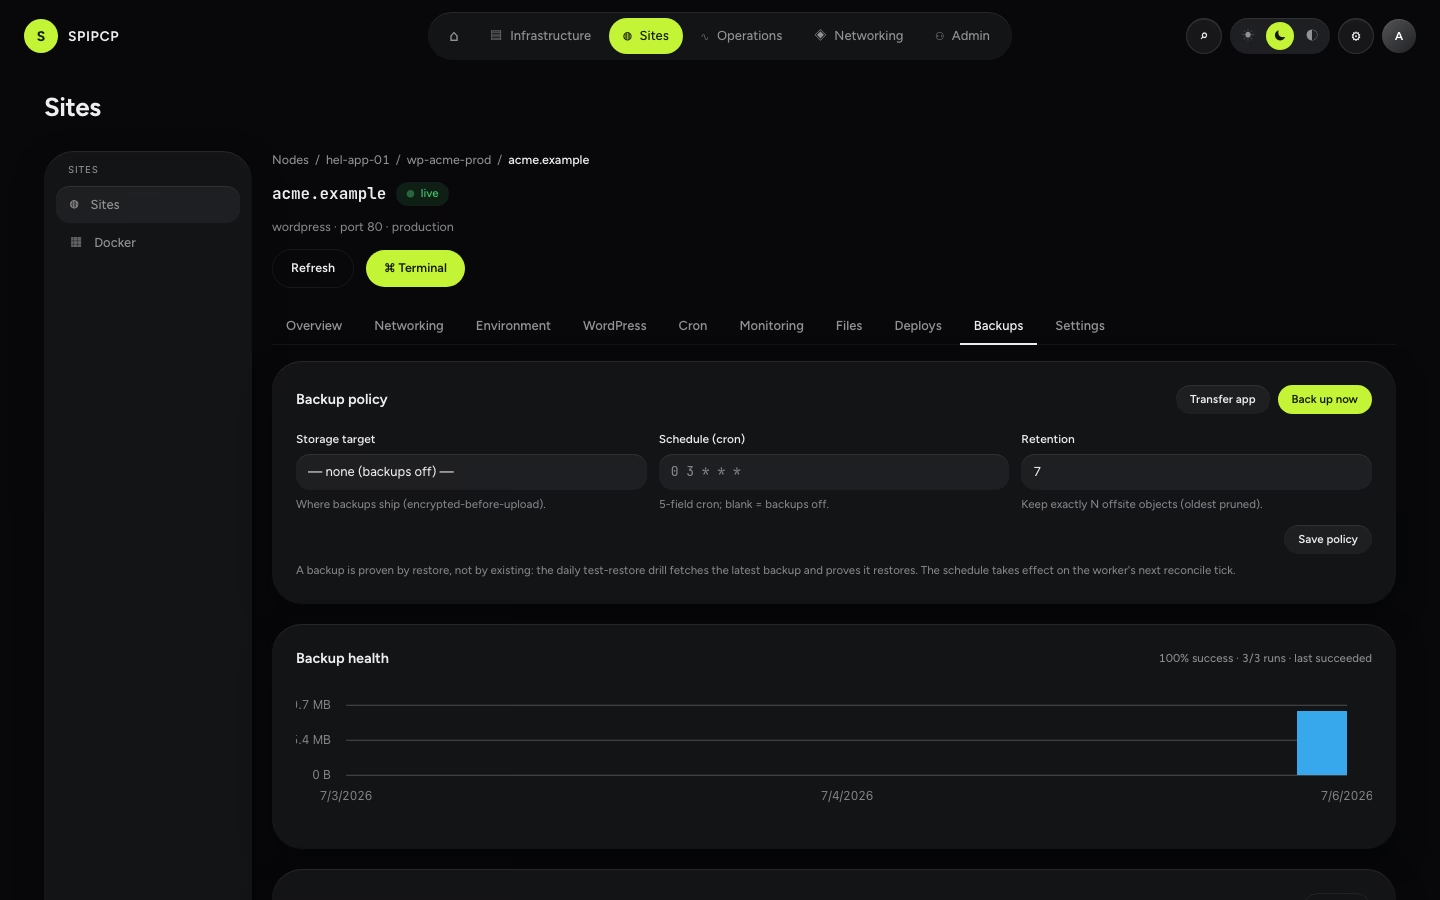
Schedule and run backups of the site, and restore from one. Backups can run on a schedule or on demand, and a restore brings the site back to a chosen point. Transfer app here moves the site to another node or instance in one click (the source keeps serving until the move is health-checked).
A backup-health chart tracks size over time alongside the success rate, so a growing backup or a run of failures shows up before the backup is ever needed.
→ More detail: Backups · Restore & clone · Transfer an app.
Settings
Site-level options, lifecycle actions, and per-site access keys.
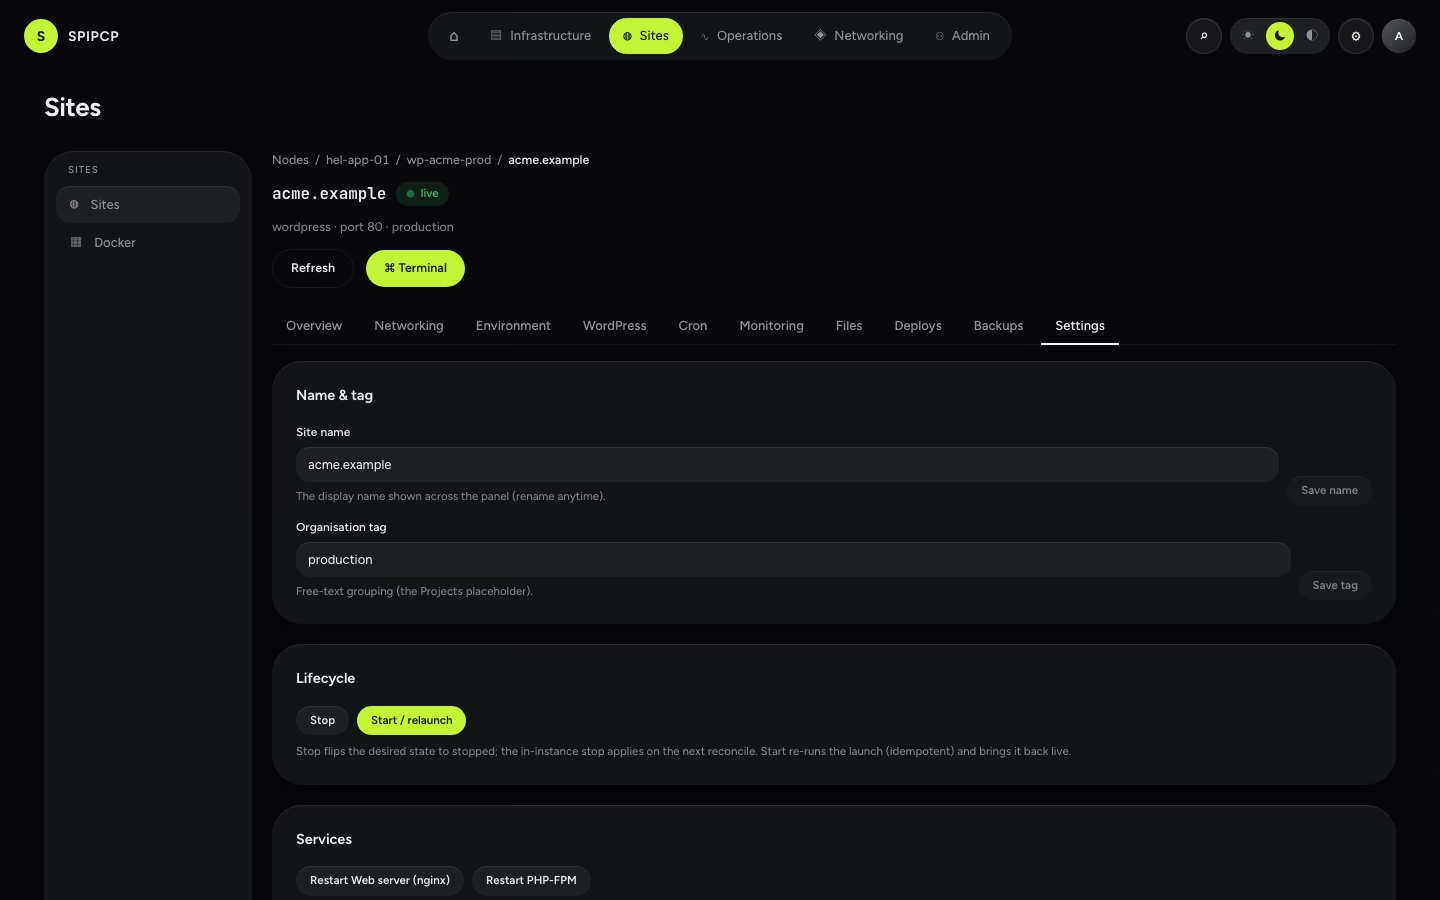
| Control | What it does |
|---|---|
| Name | Rename the site. The name is a display label only — renaming is instant and changes nothing inside the instance. |
| Tag | A free-text label to organise sites. |
| Stop / Start | Take the site offline or bring it back. |
| Access keys | SFTP/deploy keys scoped to this site only — see below. |
| Delete | Remove the site (with confirmation) and tear down its resources. |
Renaming a site
Edit the Name field and Save name. A site's name is just a display label with no behaviour attached — the owner comes from the domain, routes from the hostname — so a rename touches nothing in the instance and needs no relaunch. (To change the domain, see Networking.)
Access keys
SFTP and deploy keys scoped to this site only, managed from inside Settings. Give a developer file access to their site without a panel login or access to anything else on the box. Add developer key opens a dialog — paste their SSH public key and name it. The key maps to a per-site SFTP user confined to the site root, never a panel login.
→ More detail: Access keys.
Site isolation (the owner)
With isolation on (the default), the site gets its own Linux owner inside the instance — a user that owns the site's files and is walled off from the other sites on the box, with a narrow, safe permission grant. The owner's login is part of the credential handoff on the Overview tab.
→ More detail: Site owners · Site database & handoff.
Terminal
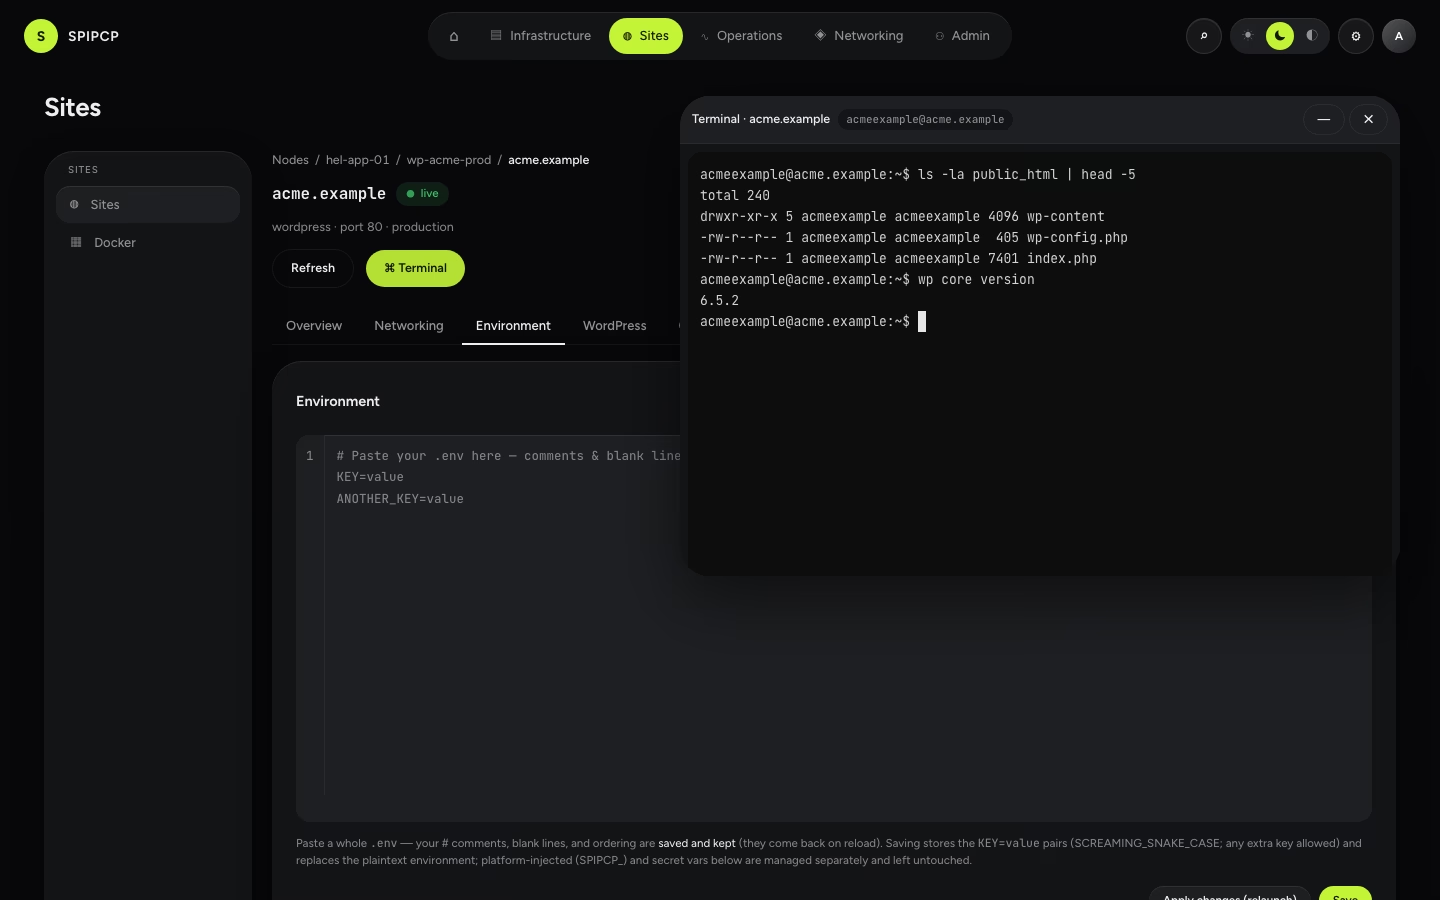
The owner Terminal is a button in the top-right of the workspace header (a floating window that stays open while switching tabs), not a tab. When the site is isolated, login is as the site owner (not root), so the terminal can only touch this site's files. It's available once the site is live.
How it works
Each site type installs through a series of steps run inside the instance. A deploy builds a new release in its own directory and switches to it in one atomic move, so a request in flight never sees a half-deployed site, and any release is one click from rollback. Launch, deploy, and backup all run through the node agent — the panel decides, the agent acts.
Docker management
See and control every container across a fleet — status, health, CPU/mem/size, start/stop/restart/recreate/pull, live logs, and alerts — from one screen, with three zoom levels (fleet → instance → app).
Domains & SSL
Give a site a real hostname with automatic HTTPS — point one DNS record at it, and SpipCP handles the certificate, renewal, and a check that it actually serves.